Water damage to the ceiling can be frustrating and potentially dangerous for homeowners. If left untreated, it cannot only affect the appearance of the ceiling but also lead to structural issues and mold growth. In this blog post, we will discuss the common causes of ceiling water damage and provide step-by-step instructions on how to repair it.
Why Does Ceiling Water Damage Occur?
Leaking Roof or Plumbing Pipes
One of the primary causes of ceiling water damage is a leaking roof or plumbing pipes. If there are cracks or gaps in your roof or plumbing system, water can seep through and accumulate on the ceiling, causing damage over time.
Condensation and Poor Insulation
Condensation buildup can also lead to water damage on the ceiling. When warm air comes in contact with a cold ceiling surface, moisture can form and eventually cause mold and water stains. Poor insulation exacerbates this issue by allowing temperature fluctuations and condensation to occur more quickly.
Faulty Gutters or Downspouts
If your gutters or downspouts are not functioning correctly, water can overflow and collect near your home’s foundation. This excess water can penetrate the walls and eventually damage the ceiling.
Cracks or Gaps in the Ceiling
Cracks or gaps in the ceiling can allow water to penetrate and cause damage. These cracks may result from aging, settling of the house, or poor construction. Identifying and addressing these vulnerabilities is crucial to prevent further water damage.
Excessive Moisture and High Humidity Levels
Excessive moisture and high humidity levels in your home can contribute to ceiling water damage. When moisture levels are consistently high, it creates an ideal environment for mold growth, which can weaken the ceiling structure and lead to further damage.
Steps For Repairing A Water-Damaged Ceiling
Assessing the Extent of the Water Damage
Start by assessing the extent of the water damage on your ceiling. Determine if it’s a minor water stain or if there are significant cracks, holes, or sagging. This assessment will help you determine the appropriate repair method and materials needed.
Gathering the Necessary Tools and Materials
Before starting the repair process, gather all the necessary tools and materials. This may include a ladder, safety goggles, gloves, a utility knife, sandpaper, joint compound, primer, paint, and a paintbrush. Having everything prepared beforehand will make the process smoother and more efficient.
Preparing the Work Area
Remove any furniture or belongings from the area to ensure a safe and clean work environment. Cover the floor and nearby walls with plastic sheets or drop cloths to protect them from dust and debris. Turn off the electricity in the affected room to reduce the risk of electrical hazards.
Repairing Minor Water Stains
Start cleaning the affected area with water and mild detergent for minor water stains. Gently scrub the stain using a sponge or soft brush. Rinse the area with clean water and allow it to dry completely. If the stain persists, apply a stain-blocking primer before painting over it.
Patching Small Holes or Cracks
If your ceiling has small holes or cracks, patch them using a joint compound. Start by widening the hole or crack slightly using a utility knife or sandpaper. Apply the joint compound with a putty knife, pressing it firmly into the hole or crack. Smooth out the surface and let it dry as per the manufacturer’s instructions. Sand the patched area lightly and apply another layer if necessary.
Addressing Larger Damaged Areas
For larger damaged areas, it may be necessary to cut out the damaged section of the ceiling and replace it with new drywall. Measure and mark the area to be removed, and use a utility knife or keyhole saw to cut along the marked lines. Remove the damaged section and attach a new piece of drywall using drywall screws. Finish the repair by applying joint compound, sanding, and blending it with the surrounding area.
Drying and Preventing Mold Growth
After completing the necessary repairs, ensure the area is thoroughly dry to prevent mold growth. Use fans or dehumidifiers to facilitate the drying process. Inspect the surrounding walls and ceiling for any signs of mold or moisture and address them promptly.
Painting and Finishing the Repairs
Once the repair area is arid, prime the repaired section and repaint it to match the rest of the ceiling. Apply the paint evenly and allow it to dry according to the manufacturer’s instructions. Combine the new paint with the surrounding area to achieve a seamless finish.
Final Steps and Tips for Maintenance
Regular Cleaning and Inspection
Regularly clean and inspect your ceilings for any signs of water damage or leaks. Clean dirt and dust buildup from the surface to prevent potential mold growth. Inspecting the area around plumbing pipes, roofs, and gutters is also a good practice for any potential issues.
Checking for Leaks or Water Damage
Periodically check for leaks or any signs of water damage in your home, especially in areas prone to moisture accumulation. If you notice any issues, address them promptly to prevent further damage.
Sealing and Waterproofing Vulnerable Areas
Seal any cracks or gaps in your ceiling to prevent water from seeping through. Additionally, consider applying a waterproofing sealant to vulnerable areas to provide extra protection against water damage.
Repairing and Reinforcing Weak Spots
If you identify any weak spots on your ceiling, such as sagging or cracking, repair and reinforce them immediately. Use appropriate techniques and materials to strengthen the structure and prevent future water damage.
Maintaining Proper Ventilation and Humidity Levels
Ensure proper ventilation and maintain appropriate humidity levels in your home. Use exhaust fans in moisture-prone areas, such as bathrooms and kitchens. Adequate airflow helps prevent condensation and reduces the risk of water damage to the ceiling.
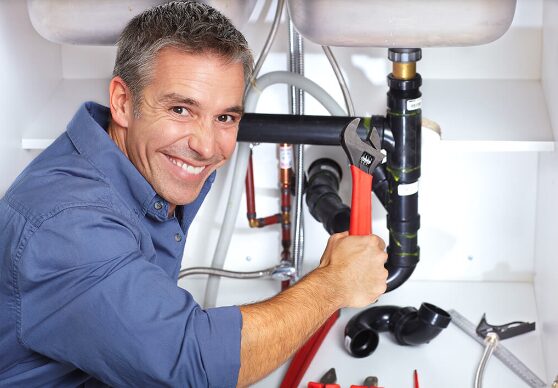
Getting Professional Plumbing Assistance
If you’re unsure about the cause of the water damage or if it seems beyond your expertise to repair, it’s advisable to seek professional plumbing assistance. A licensed plumber can help identify and address any plumbing-related issues causing the damage.
Conclusion
Repairing water damage to the ceiling requires careful assessment and proper execution. Following the steps outlined in this guide, you can repair and restore your ceiling to its original condition. Regular maintenance and timely repairs are essential to prevent future water damage and maintain the integrity of your home. Remember to seek professional help when needed, especially when dealing with complex or extensive damage.